 September 14, 2023
  Synergetic
  Video
Video If you’ve ever been to a Philadelphia 76ers game, you may notice images and scenes projected onto the basketball court before the game. For example, when they ring the bell the court floor breaks apart with each swing of the hammer. Have you ever wondered how they achieve those visuals? Well, the answer is projection blending. In this blog, we’ll explore the process of projection blending and its benefits.
(THIS IS NOT SYNERGETIC’S WORK, CREDITS TO QUINCE IMAGING)
W H A T I S I T?
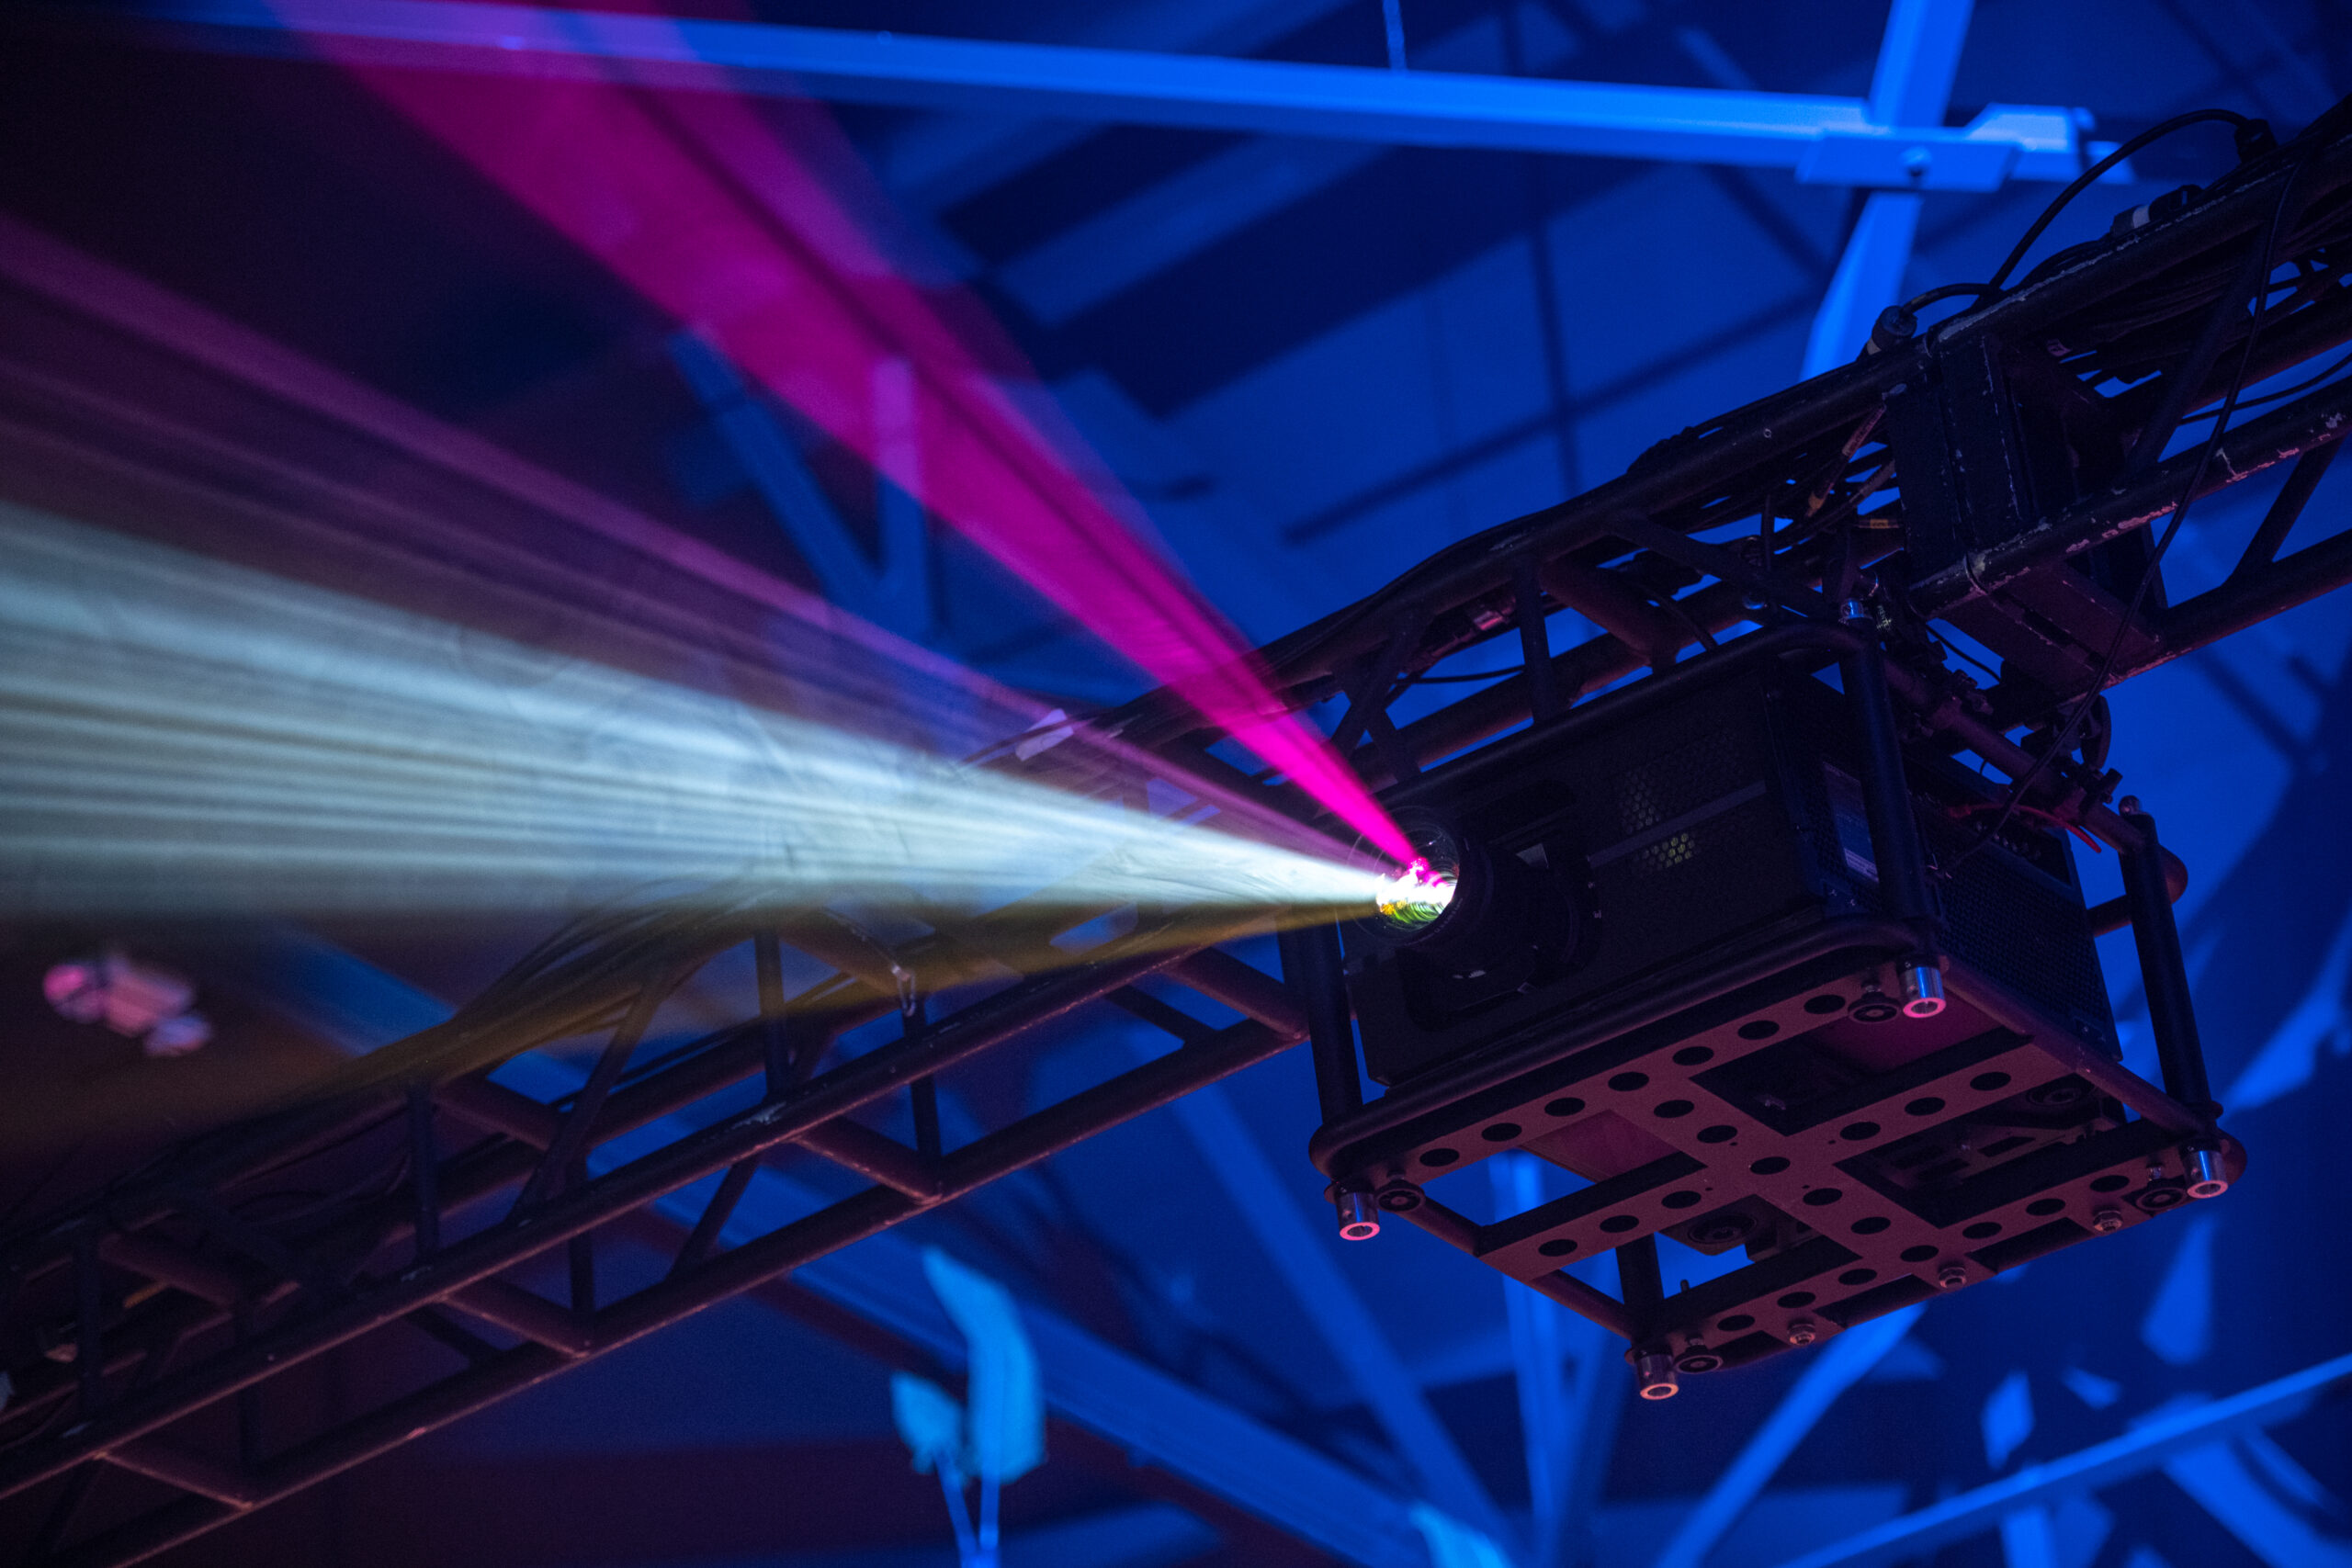
Projection blending is a technique in which two or more projectors are used to seamlessly blend individual projected images or videos into a single cohesive display. Using one projector, you can only make an image so large. As you increase the distance between the projector and the screen, the image size will increase, but you’ll also notice a substantial decrease in brightness. Alternatively, if you move it closer, the image size will decrease, but the brightness will increase. This technique allows for larger, brighter, higher resolution, and more immersive visuals that are not limited by the constraints of a single projector’s output. Blending is typically used for projection screens or surfaces that cover a much larger area than a single projector could handle. You are all familiar with normal 16:9 projection screens. If not, click here (we have a blog post about that). However, if the surface you intend to project onto doesn’t conform to the standard 16:9 ratio, for example, if you have an exceptionally wide screen that’s 40 feet in length but only 10 feet in height, you’ll need to figure out a solution to project images onto that surface. Projection blending can serve as that solution by utilizing two, multiple, or even dozens of projectors. The Sixers, who I mentioned earlier, incorporate 16 connected projectors to display a fluid, cohesive image onto their court. Let’s explore the process used to create these displays.
S T E P 1: M A P P I N G A N D A L I G N M E N T
First, to ensure the two projectors show one cohesive image, you must align them pixel by pixel. This is a meticulous, but crucial process to ensure a seamless blend. The projectors are aligned by adjusting the lens, focus, and zoom to ensure there are no mismatches or gaps between the images.
S T E P 2: E D G E B L E N D O V E R L A P
In this step, we overlap the images of the two projectors by 15-35% to ensure there are no visible gaps between the projections. This process is called edge blending and is typically executed by specialized software within the projector.
S T E P 3: C O L O R A N D B R I G H T N E S S C O R R E C T I O N
Once the two projectors are overlapped, a portion in the middle of the image is going to be twice as bright. To remove this inconsistency, we use color and brightness correction to smooth out the overlapped portions. This achieves uniformity across the blended area.
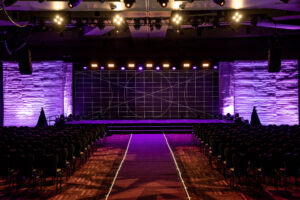
B E F O R E
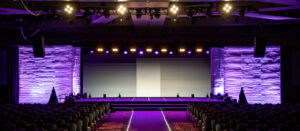
A F T E R
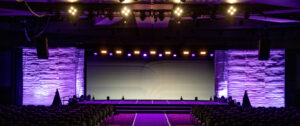

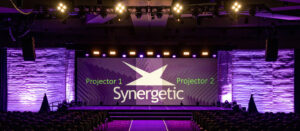
F I N A L R E S U L T
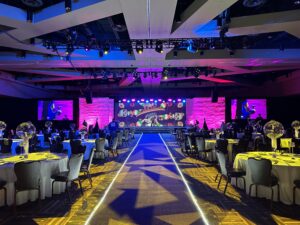
The outcome is an expansive display that leaves a memorable impression and immerses your guests in visuals that align with the purpose of your event. When it comes to delivering larger-than-life visuals without breaking the bank, projection blending emerges as the most cost-effective solution. Blending may involve multiple costly projectors, but it can still be cost-effective compared to alternative methods of achieving large, high-quality visuals such as video walls. While video walls require individual panels, extensive cabling, and often specialized mounting structures, projection blending relies on standard projectors that are more accessible, versatile, and take up a much smaller footprint. This translates to reduced upfront costs and a simplified, quicker setup, which allows you to offer your attendees a much larger viewing area without having to dedicate a large portion of your budget to an LED Video wall. If you are interested in providing a visually striking alternative that doesn’t strain your budget, give our account management team a call today at (215) 633-1200!
 April 28, 2026
  Synergetic
  Uncategorized